Blur part of a screenshot on Mac
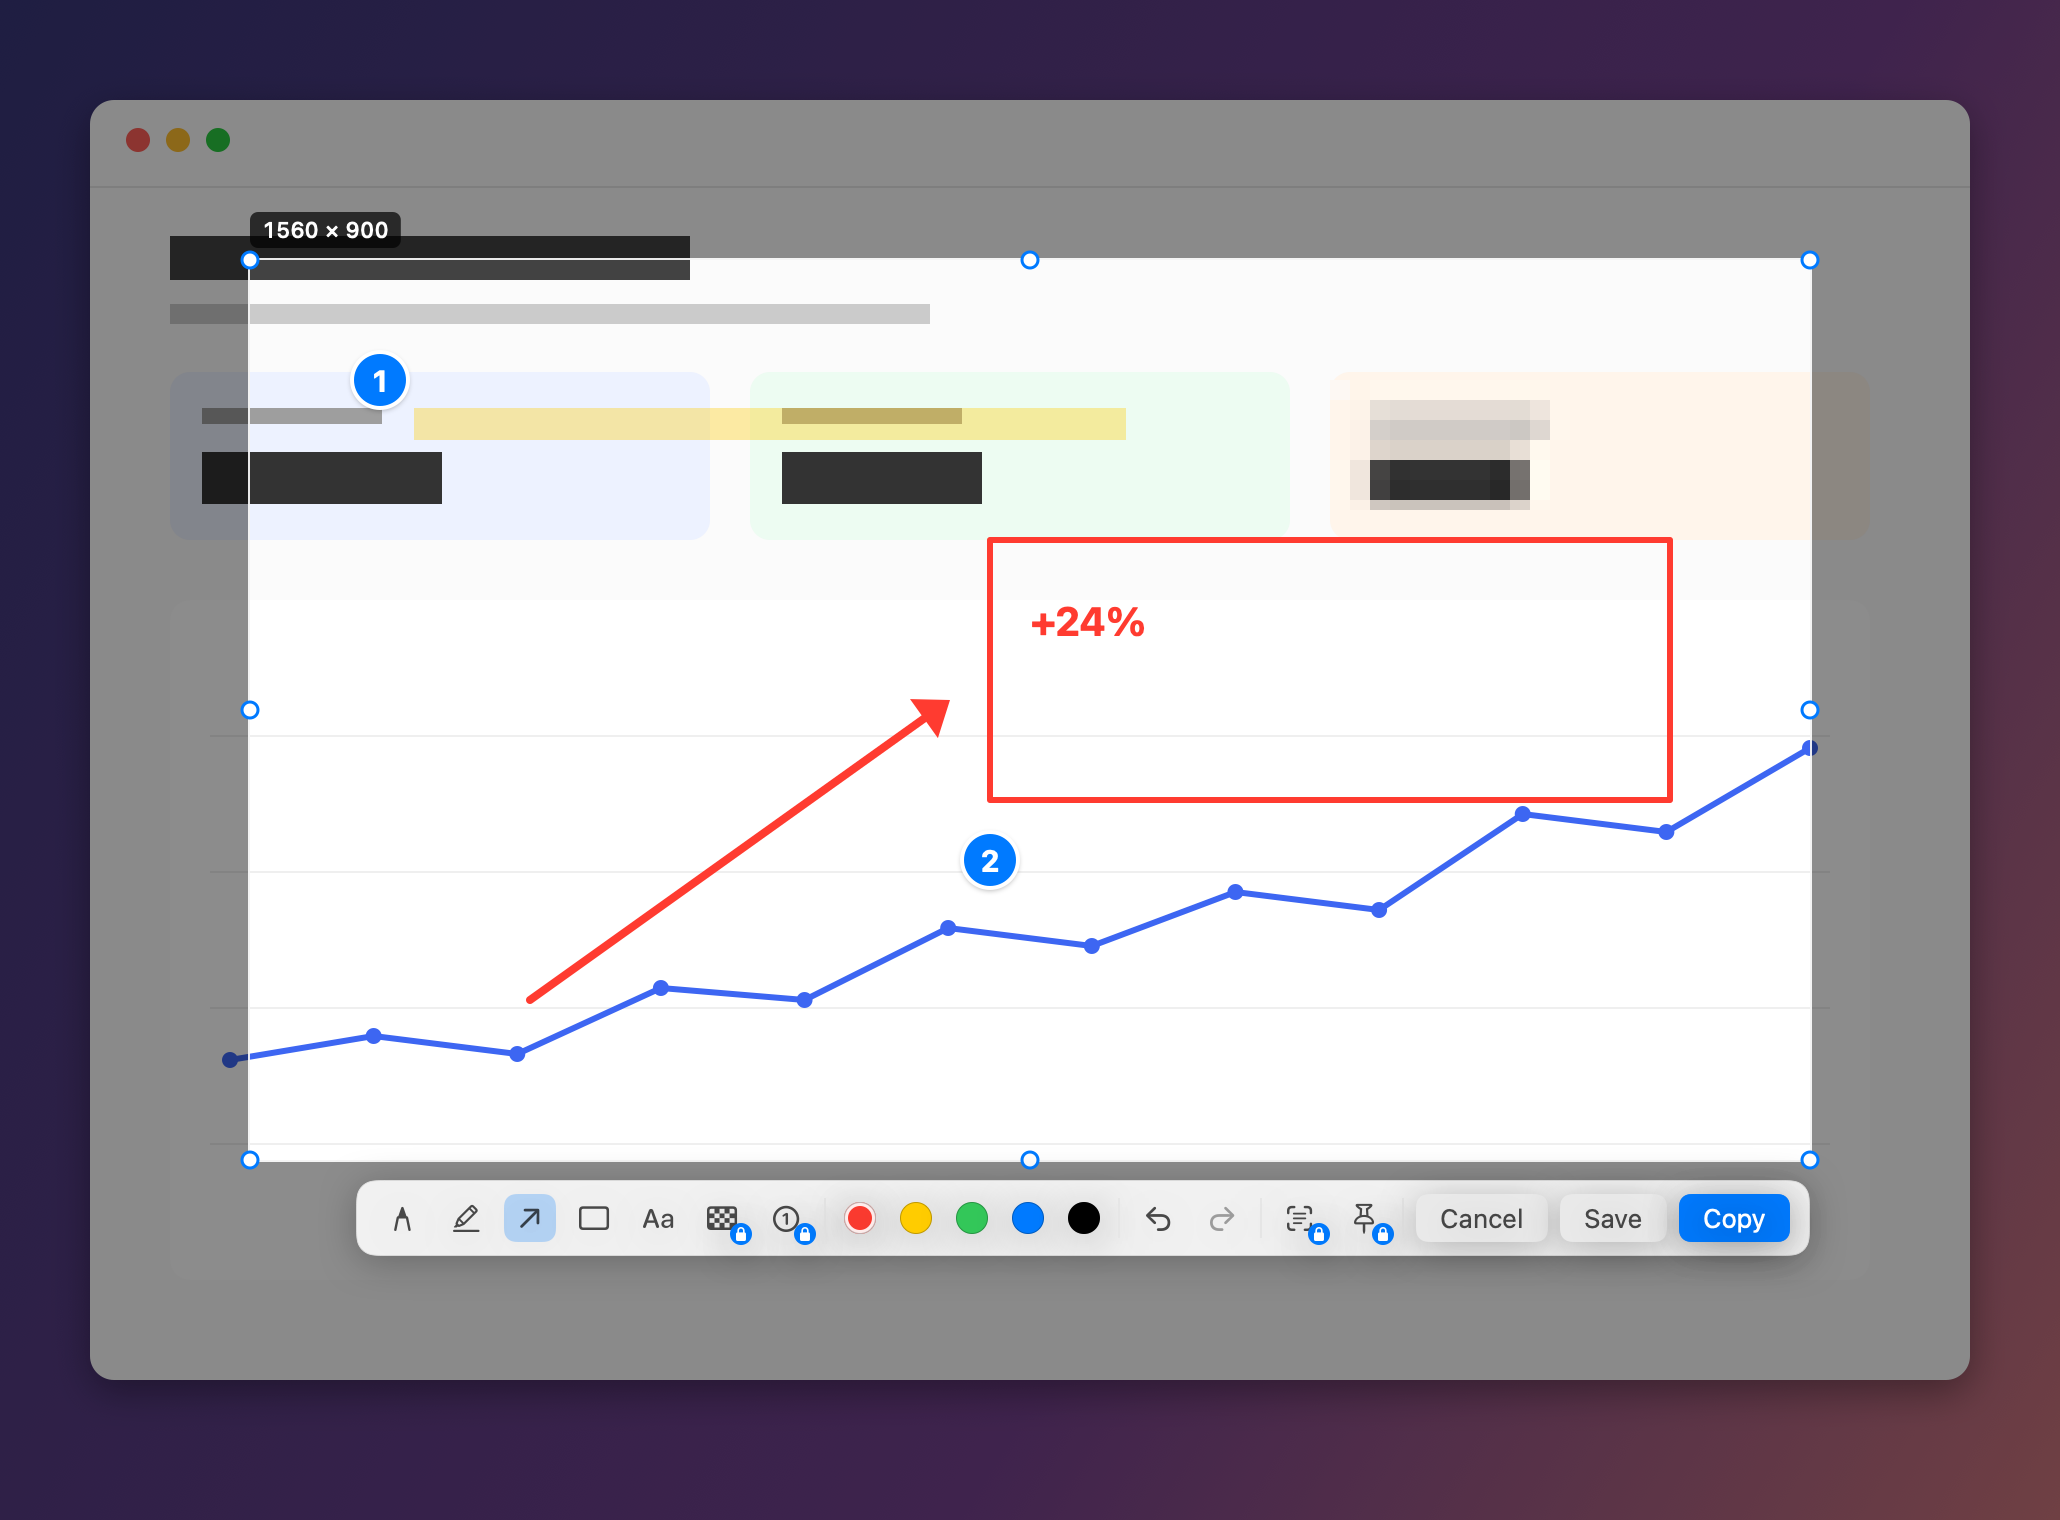
Preview's Markup tools on Mac have no blur or pixelate tool; you can cover an area with a filled shape or crop it out. In Screen2Shot, press ⇧⌘9, select an area, press B and drag over what should be hidden: Pixelate turns it into coarse blocks before you copy. Pixelate is part of PRO; macOS 14 Sonoma or later.
How to pixelate part of a screenshot
- Press ⇧⌘9 and drag over the area you want to share.
- Press B, or click Pixelate in the toolbar.
- Drag a rectangle over the text, face or number that should not be seen. Repeat for every place; ⌘Z undoes the last one.
- Press ⌘C or Return to copy, or ⌘S to save. The PNG holds the blocks, not the pixels that were under them.
Pixelate replaces each block with the average colour of what was under it, at one fixed block size. Cover the text fully and drag past its edges. Pixelation is not deletion: large type or a short number can stay guessable from the blocks, so for passwords, keys and card numbers leave them out of the selection instead: drag a handle of the selection to make it smaller.
Built-in macOS options and their limits
Preview’s Markup toolbar has shapes with a Fill Color, a crop tool and drawing tools, but no blur or pixelate. To hide something with built-in tools, draw a rectangle, fill it with a solid colour and place it over the text, or crop the part out. Apple notes that after you save an annotated image file, the annotations can no longer be edited, moved or deleted.
| Preview Markup | Screen2Shot Free | Screen2Shot PRO | |
|---|---|---|---|
| Pixelate an area | ❌ | ❌ | ✅ key B |
| Cover an area with a solid filled shape | ✅ Fill Color | ❌ | ❌ |
| Cut the area out | ✅ crop | ✅ resize the selection | ✅ resize the selection |
| Costs nothing | ✅ | ✅ | ❌ PRO |
Checked on 2026-09-29. Sources below.
What people use it for
- Hiding email addresses, names and account numbers in bug reports and support tickets.
- Covering faces and chat previews before posting a screenshot.
- Sharing a dashboard without its figures.