
Snipping Tool for Mac: the built-in shortcuts, and an app that works like it
Mac has no app called Snipping Tool. Press ⇧⌘4 to capture an area (add Control, ⌃⇧⌘4, to copy it instead of saving), or ⇧⌘5 for the capture toolbar. For Snipping Tool-style markup, Screen2Shot's ⌃⇧S preset opens area capture with arrows, text and a pen, for free.
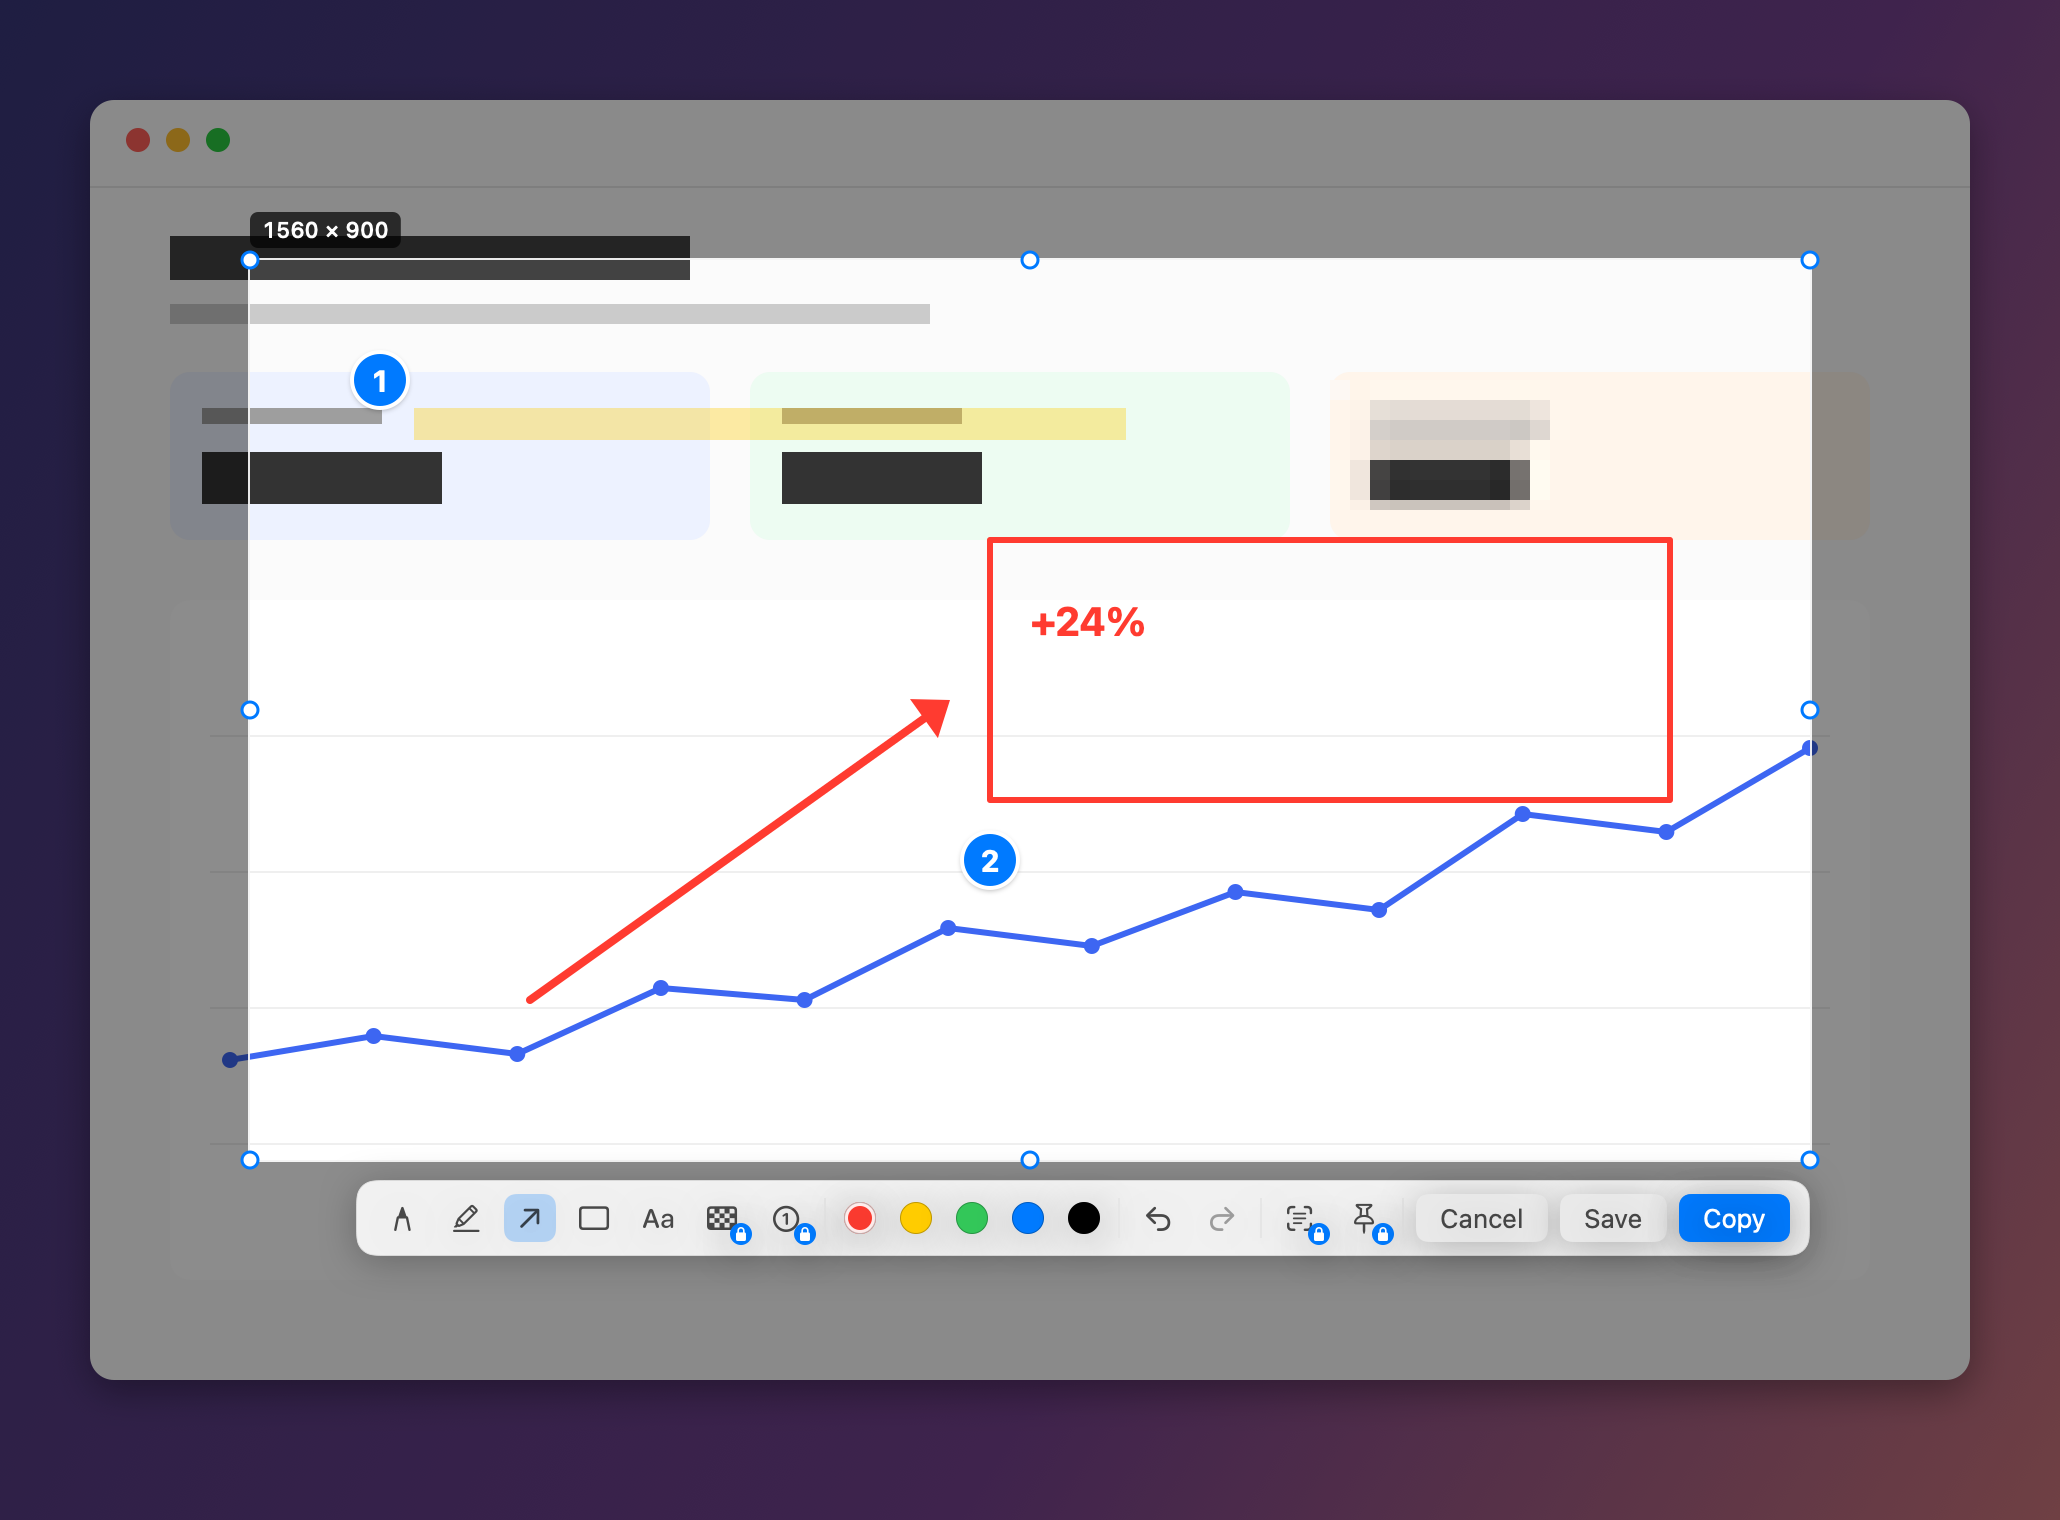
Windows shortcuts on a Mac
| Task | Windows Snipping Tool | macOS built-in | Screen2Shot |
|---|---|---|---|
| Capture an area | Win+Shift+S | ⇧⌘4, then drag | ⌃⇧S preset (default ⇧⌘9), then drag |
| Copy it | Ctrl+C | ⌃⇧⌘4 copies instead of saving | ⌘C, ⌃C or Return |
| Save it | saved to the Screenshots folder automatically; Ctrl+S | saved to the desktop automatically | ⌘S opens a save panel |
| Whole screen | PrtSc, to the clipboard | ⇧⌘3; ⌃⇧⌘3 to copy | the shortcut, then F (the display under the pointer) |
| One window | Alt+M, Window mode | ⇧⌘4, then Space | ❌ |
| Delay | Alt+D, 1–5 seconds | ⇧⌘5 → Options → timer | ❌ |
| Copy text from the image | Text actions | Live Text, in an image you open in Preview | ⇧⌘C on the selection (PRO) |
| Record the screen | Win+Shift+R | ⇧⌘5, then a record button | ⌥⇧⌘9 (macOS 15 or later) |
Checked on 2026-09-29. Sources below.
Take a screenshot with the built-in shortcuts
- Press ⇧⌘4. The pointer turns into a crosshair.
- Drag over the area you want. Hold Space while dragging to move the selection; press Esc to cancel.
- Release the mouse or trackpad button. A thumbnail appears in the corner: click it to mark up the screenshot, or wait and it saves to the desktop.
- To copy the area instead of saving it, press ⌃⇧⌘4 in step 1.
- For the capture toolbar, press ⇧⌘5. It has area, window and full-screen capture, screen recording, and an Options menu with a timer and the save location.
Where Mac screenshots are saved
The built-in shortcuts save to the desktop, named “Screenshot [date] at [time]” on macOS 13 and later (“Screen Shot” on earlier versions), per Apple’s Mac User Guide. To use another folder, press ⇧⌘5, open Options and choose a location. Windows saves snips to the Screenshots folder automatically; on a Mac the shortcut saves to the desktop, and adding Control copies instead.
Screen2Shot copies instead of saving on its own. ⌘C puts the screenshot and your drawings on the clipboard, and a “Copied” capsule confirms it. ⌘S opens a save panel in the last folder you used, or in Pictures the first time.
What the built-in tool does not do
- Pin a screenshot above other windows. The thumbnail stays only while the pointer is over it. Screen2Shot’s Pin to Screen keeps a screenshot above every window (PRO).
- Hide text by pixelating it. Apple’s screenshot page lists no redaction tool. In Screen2Shot, press B and drag over the area to pixelate it (PRO).
- Copy text while you capture. Live Text copies text from an image you open in Preview, so you save the file first. Screen2Shot’s Copy Text reads the text and QR codes in a selection with ⇧⌘C, without saving an image (PRO).
Use Screen2Shot like Snipping Tool
- Click the Screen2Shot icon in the menu bar, open Shortcut ▸ and choose ⌃⇧S. The ⌃⇧9 preset is there too, for Windows habits.
- Press ⌃⇧S from any app. The screen freezes under a dim mask; drag an area and its size in pixels shows beside it.
- Mark it up with the pen, marker, arrow, rectangle or text in five colours. ⌘Z undoes.
- Press ⌘C, ⌃C or Return to copy, or ⌘S to save a PNG. Esc closes without saving.
Screen2Shot needs macOS 14 Sonoma or later on Apple silicon. The tools above are free; PRO is 6.99 USD a month or 99 USD once on the Mac App Store. See pricing for both channels.